
+

=
|
|
+ |
|
= |
|
| Gmail setup |
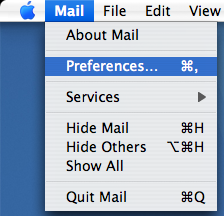
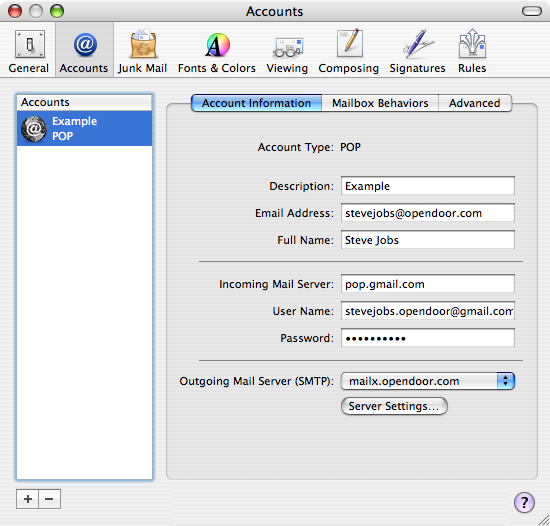
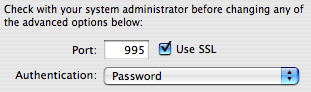
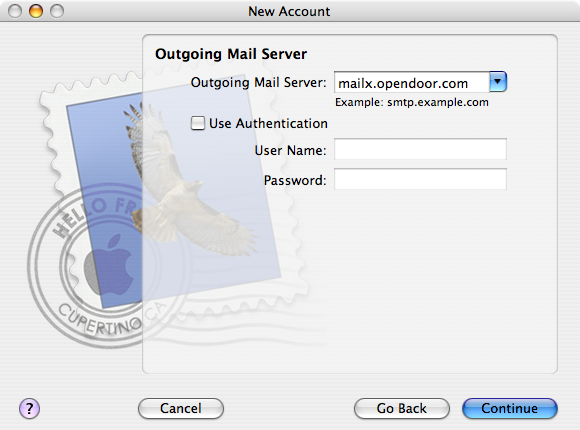
Mail app setup |
| Fine-tuning the spam filter |
Whitelists & blacklists |
| FAQ |
| Gmail setup |
Mail app setup |
| Fine-tuning the spam filter |
Whitelists & blacklists |
| FAQ |